Resealing vintage game box edges involves carefully cleaning damaged areas, applying acid-free glue, aligning edges with gentle pressure, matching original colors and textures, and allowing proper drying to restore and preserve the box’s appearance and durability.
Reseal vintage game box edges can feel tricky, especially when dealing with torn and fragile cardboard. Ever wondered how to bring those worn game boxes back to life without spending a fortune? Let me show you some hands-on tips that really work.
Identifying damage types on vintage game boxes
When working on reseal vintage game box edges, the first step is understanding the types of damage you might face. Common issues include torn edges, crushed corners, peeling layers, and creases. Each type requires a different approach for repair. Torn edges often show frayed cardboard fibers, while peeling layers involve the top printed surface lifting away. Corners can get crushed or bent from years of handling or storage. Sometimes, moisture damage causes warping or weakening of the box structure. By carefully examining the damage, you can plan the best method and materials to restore the box effectively.
How to Spot Specific Damage
Look closely at the edges, especially where the box folds and meets. Tears often appear where stress is highest. Peeling can be tested gently with a fingernail to see if the printed layer lifts. Corners should be assessed for softness or breaks in the cardboard. Any discoloration or warping might indicate moisture problems. Use a bright light for better visibility and a magnifying lens if needed to inspect minor damages.
Why This Matters
Identifying damage types helps avoid mistakes like using too much glue on fragile layers or improper sanding that worsens soft corners. Knowing the specifics allows targeted repairs that preserve the vintage look and structural integrity. This step is essential for planning your resealing project confidently and avoiding further harm.
Materials needed for DIY resealing
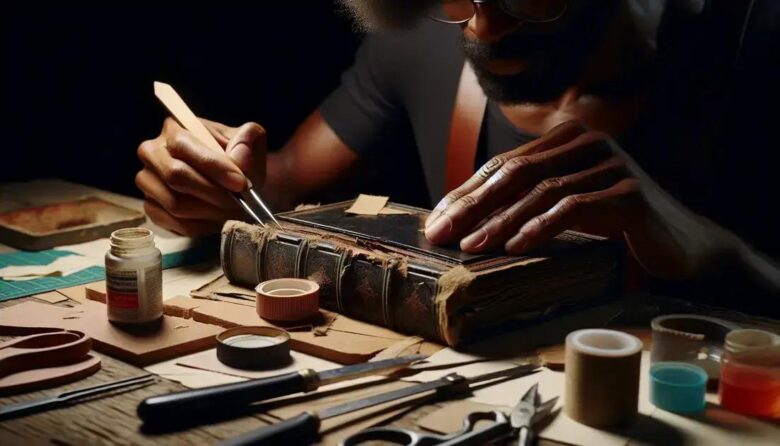
To properly reseal vintage game box edges, having the right materials is crucial. Start with a high-quality adhesive designed for paper and cardboard, such as acid-free PVA glue. It dries clear and won’t damage your vintage box. You’ll also need a soft brush or small sponge for applying glue evenly without soaking the cardboard.
Additional Tools and Supplies
A pair of tweezers helps handle delicate edges without tearing them further. Use wax paper or parchment paper to protect surfaces and prevent glue from sticking where it shouldn’t. Fine grit sandpaper or a nail file can smooth any rough edges before sealing.
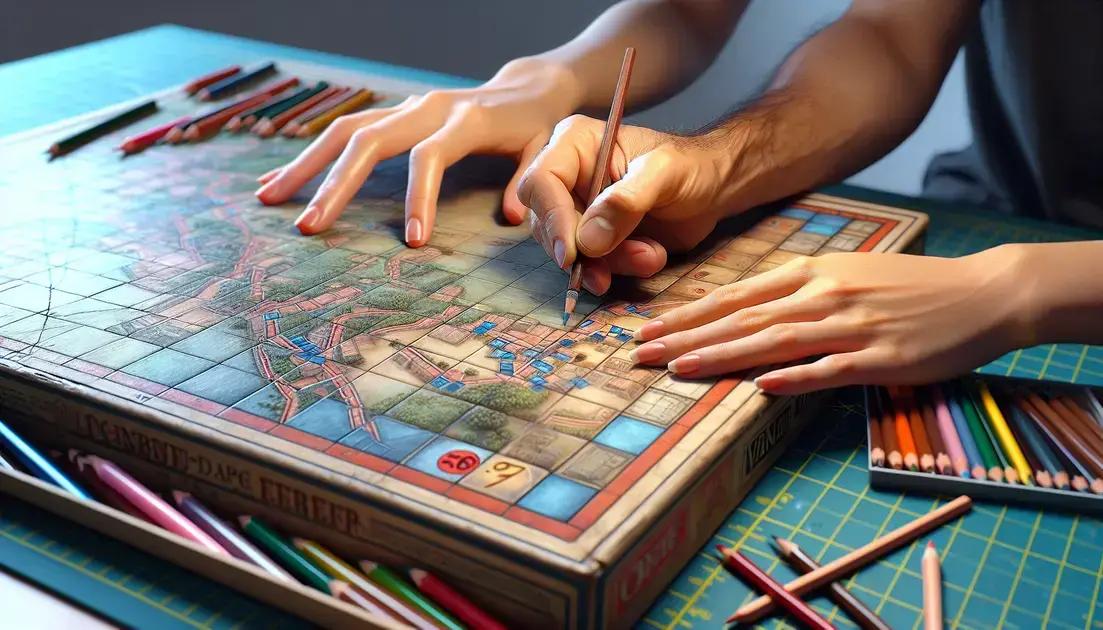
For color matching, have artist-grade colored pencils or markers handy to touch up minor blemishes. Some collectors use archival tape—transparent and acid-free—for reinforcing weak corners. Lastly, keep a clean cloth or cotton swabs nearby for removing excess glue before it dries.
Why Choose Quality Materials?
Using proper materials helps preserve the vintage feel and longevity of your game box. Low-quality glue can yellow over time or cause warping. Tools that are too abrasive might damage fragile edges instead of fixing them. Investing in suitable supplies means your resealing work not only looks good but lasts longer.
Step-by-step guide to resealing box edges
Start by cleaning the box edges gently with a dry, soft cloth to remove dust. If there are any loose pieces, handle them carefully to avoid further damage. Next, apply a thin layer of acid-free PVA glue along the torn edges using a fine brush. Make sure to cover the entire damaged area without over-saturating the cardboard.
Aligning and Securing the Edges
After applying glue, press the edges together firmly but gently. Use wax paper and a small weight to hold the edges in place while the glue dries. This prevents shifting and ensures a strong bond. Drying time usually takes a few hours, so patience is key.
Finishing Touches
Once dry, check for any rough spots and lightly sand them with fine grit sandpaper. For visible tears, use colored pencils or markers to blend the repair with the original box colors. Optionally, reinforce fragile corners with clear archival tape applied carefully to avoid altering the box’s appearance.
Following these steps will help restore the box edges while preserving the vintage look and maintaining durability.
Tips for matching original textures and colors

Matching the original textures and colors when resealing vintage game box edges is key to preserving their authentic look. Start by closely examining the box’s surface under good lighting. Notice the glossiness, matte finish, or patterned details. Use artist-grade colored pencils or markers to gently blend repaired areas with the original colors.
Replicating Texture
If the box has a textured surface, try using fine tools like a stiff brush or sponge to lightly dab the repair area with a similar finish. Applying thin layers gradually helps mimic the original feel without overdoing it. For smoother areas, light sanding on edges can recreate gentle wear patterns.
Color Matching Techniques
Test colors on scrap paper before applying to the box. Mix colored pencils or markers to get the closest shade. Layer colors and blend edges softly for natural transitions. Avoid heavy or solid coloring, as it can look fake. Use subtle shading and highlights to match the box’s original depth.
Keep in mind that vintage boxes often have faded colors due to age. Slightly dulling your repair colors using light gray or brown can improve authenticity. The goal is to restore the look without making repaired spots stand out.
Common mistakes to avoid during resealing
One common mistake when working to reseal vintage game box edges is using the wrong type of adhesive. Avoid glues that yellow over time or are too wet, as they can warp or stain the cardboard. Always use acid-free, archival-quality glue specifically made for paper products.
Overapplying Glue
Applying too much glue can cause oversaturation, leading to warped edges and prolonged drying times. A thin, even layer applied with a small brush is best. Excess glue can also seep and damage the box’s printed surface.
Rushing the Drying Process
Not allowing enough time for the glue to dry can result in weak bonds and edges that separate later. Use weights and wax paper to hold the edges in place, and wait the recommended drying time, usually several hours, for a strong, lasting seal.
Ignoring Color and Texture Matching
Failing to match the original colors and textures makes repairs obvious and lowers the box’s value. Take time to blend colors and mimic textures carefully, using colored pencils or markers and gentle sanding where appropriate.
Skipping Surface Preparation
Not cleaning or properly preparing the edges before applying glue can reduce adhesion quality. Ensure all dust or loose fibers are removed to help the glue bond firmly to the surface.
Using Harsh Tools
Using abrasive materials or excessive force can further damage already fragile edges. Gentle handling with soft brushes and light pressure is essential.
How to preserve resealed boxes long-term
After resealing vintage game box edges, it’s important to take steps to preserve the repairs for the long term. Store the boxes in a cool, dry place away from direct sunlight to prevent fading and warping. Avoid areas with high humidity, which can cause the cardboard to soften and glue to weaken.
Handle with Care
When moving or playing with the box, handle it gently to avoid stressing the resealed edges. Keep the boxes upright and avoid stacking heavy items on top to prevent crushing or new tears.
Use Protective Covers
Consider using plastic sleeves or archival-quality protective covers designed for board games. These covers shield the box from dust, moisture, and physical damage while allowing you to see the artwork clearly.
Monitor and Maintain
Regularly check the condition of your resealed boxes. Look for any signs of glue weakening or new damage, and perform touch-ups as needed. Keeping a small repair kit with glue, brushes, and color pencils handy can help maintain the box’s appearance over time.
When to seek professional restoration
Sometimes, resealing vintage game box edges yourself isn’t enough. When damage is extensive or the box holds significant value, it’s best to consider professional restoration. Professionals have access to specialized tools and materials that can provide a delicate and precise repair beyond typical DIY methods.
Signs You Need Professional Help
If the box has severe tears, water damage, mold, or missing parts, these are clear signs to seek expert restoration. Attempting repairs in such cases might worsen the damage or reduce the box’s overall value.
Benefits of Professional Restoration
Experts can stabilize fragile materials, preserve original artwork, and use conservation-grade adhesives. They also offer advice on long-term preservation. This level of care maintains both the look and worth of your collectible game box.
How to Choose a Restorer
Look for restorers with experience in paper and cardboard artifacts. Check reviews and ask for before-and-after examples of previous work. A trustworthy professional will assess the condition and recommend the best approach, tailoring repairs to your box’s specific needs.
While DIY projects can be rewarding, knowing when to call in professionals ensures your vintage game box is preserved in the best possible way.
Taking care of your vintage game boxes
Resealing vintage game box edges can be a rewarding project that brings new life to your favorite collectibles. By using the right materials and following clear steps, you can make repairs that look great and last a long time.
Paying attention to details like matching colors and textures helps keep the original charm of your game boxes. Remember to handle them gently and store them properly to preserve your work.
When damage is too severe, don’t hesitate to seek professional restoration to protect your valuable items. With care and patience, your vintage game boxes can stay in great shape for years to come.


